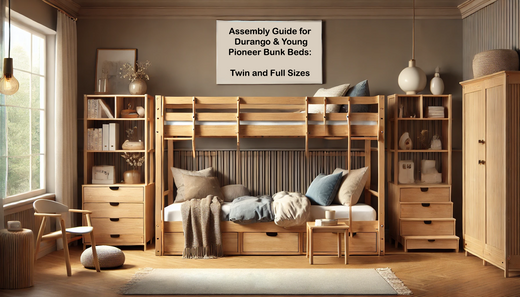
Step-by-Step Assembly Guide for Durango & Young Pioneer Bunk Beds: Twin and Full Sizes
Share
Step-by-Step Assembly Guide for Durango & Young Pioneer Bunk Beds: Twin and Full Sizes
Congrats on your new bunk bed! With this detailed guide, you’ll have everything you need to properly and securely assemble your Durango or Young Pioneer Bunk Bed. Follow these step-by-step instructions, and you’ll have your bed ready in no time.
What You’ll Need to Assemble Your Bunk Bed
Parts Checklist:
- (4) Side Bed Rails
- (2) Side Guard Rails
- (2) Headboards
- (2) Footboards
- (2) Slat Pack Web Rolls
Hardware Checklist:
- 24 Barrel Nuts
- 24 90 mm Bolts
- 4 Steel Dowels
Tools Required:
- Phillips-head screwdriver
- Allen wrench (included in your kit)
Assembly Instructions
Step 1: Assemble the Side Bed Rails
- Attach (2) side bed rails to the headboard and footboard of each bed, aligning with the lower set of holes on the headboard and footboard.
- Insert barrel nuts into the pre-drilled holes on the inside of the bed side rails (see Fig. A). Ensure the barrel nut holes are horizontal for proper alignment.
- Insert the 90 mm bolts into the barrel nuts to secure the rails in place.
- Repeat the process for the top guard rails.
SEE FIG. 1
Step 2: Stack the Beds
- Remove the bolts from the top post of the lower bed's headboards and footboards.
- Replace the bolts with the steel dowels provided in your kit.
- With the help of a partner, lift the top bunk bed and place it on top of the lower bed, ensuring the steel dowels slide into place (see Fig. B).
Step 3: Install the Slat Packs
- Spread the slat roll packs evenly between the headboard and footboard of each bed.
- Attach the slat packs to the side rails using the 1 ¼ screws provided in your hardware kit.
- Secure the slats evenly to the rails on both sides (see Fig. C).
- For additional details, refer to the slat pack instructions included in your package.
Need Additional Assistance?
If you require a copy of the assembly instructions for this product, visit our News & Support page to access all assembly guides.
For any further questions or concerns, feel free to contact M&J Design Furniture:
- Phone: 714-687-9918
- Address: 1303 S Claudina St., Anaheim, CA 92805
- Hours: Monday - Friday: 8 AM - 5 PM | Weekends: Closed

